The soil compactor is an eco-friendly choice instead of plastic nurseries. In English, this tool is known as «soil blocker» and we collaborated with gardener Roman Zykas to create the Lithuanian version of this article. He has been using soil compactors successfully for many years and is very happy: he states the task is much more enjoyable than sifting through plastic pots. Click to watch:
If you have an interest in gardening, we suggest our course «Modern garden». In these online gardening classes, teacher Dr. Ingė Auželienė instructs how to cultivate a good harvest naturally. After the course, there will be a live question and answer session with the teacher, who will respond to your questions regarding garden setup or growing vegetables.
It is important to underline:

This article is not an advertisement and I have not yet seen these devices on sale in Lithuania. But since they can be downloaded from foreign electronic markets, I have no doubt that terrestrial printing will also come to Lithuania. So I’m very curious to know how it works and whether it’s worth watching. It may not appeal to everyone, but you will know how sprouting and pickling occurs this way.
Read more Chelsea Flower Show 2018 and Monika Sliesoraitytė’s impressions
Kuo dirva press is different when it comes to germination:
- A sustainable solution: no plastic is used at any stage of growing the plant.
- Easy to use: The process is easy to understand even for a novice gardener.
- Durability: You buy it once and have it for a long time, and plastic nurseries wear out quickly.
- Save space: one set replaces even multiple conventional bedrooms.
- Easier pickling: transplanting seedlings occurs according to the principle of a puzzle.
How to prepare the soil
Before you get started, you should know that different sizes of soil blocks will require different soil mixes.
- To work with smaller blocks, you need compost mixed with peat in a ratio of 1:1. Such a mixture is quite sufficient, since these blocks are intended only for seed germination. If you plan to grow under lamps, you should add vermiculite afterwards – it will prevent the moisture from evaporating very quickly.
- Transplanting into larger blocks (or planting into larger blocks) will require a slightly different soil mix. Traditionally, it should consist of 3 parts peat moss, 2 parts compost, 1 part potting soil, 2 parts perlite or gravel, and a little fertilizer.
Roman shares a simpler recipe that has worked well for him: mix compost with peat (a 1:1 ratio) or use a store-bought peat substrate (about 1:1 peat to compost) and add perlite.
The compost in the mix is important for nutrients and binding – it makes the blocks «stick together». Perlite is important because it allows air to reach the roots, otherwise the substrate could be too compact and the roots would have nowhere to grow.
Keep in mind that the soil for germinating seeds and transplanting seedlings must be sufficiently moist – it is different from that used in plastic nurseries. In foreign forums, gardeners recommend wetting the soil so much that its consistency resembles soft butter when squeezed by hand. If the soil is not moist enough, it will not be able to maintain its shape, it will fall apart. Don’t be alarmed if the soil seems too wet at first, as pressing down on the soil will drain the excess water.
Read more What are the most valuable tomatoes? Dietitian Vaida Kurpienė answers:
First phase – seed germination
At first glance it might seem that this device is difficult to use, but in reality it is not. The process itself is very simple: take a press with the blocks of the smallest size and press the moistened soil with it: the soil is collected into the block in about three times, again pushing the block to the sides, so that everything is really full. Then you need to press the soil into the blocks with your fingers a little more so that it evenly fills all the blocks in their entire volume.
Squeeze the blocks directly into the container you will be sprouting them in. The image shows what the pressed blocks look like on the hand, but is for demonstration purposes only. As you work, print directly onto the plastic base on which the blocks will grow.
We can sow the seeds. As mentioned above, Roman sprinkles the blocks with vermiculite so that the moisture does not evaporate so quickly. That’s all.
The second phase is the transplanting of the seedlings
You mix the soil mixture, moisten it well, collect the soil in the press and press the blocks onto the plastic base – the soil press works on the same principle as described above, only the blocks are larger.
Read more what to cut, what to leave, when to cover
The blocks are sold with different nozzles, here’s something about them:
- Choose round tips that will form blocks with deep holes for the seeds. This option is intended in the case when you do not harvest, but sow directly in medium-sized blocks. Then press the blocks, sow the seeds in the holes and cover them with soil.
- Choose square tips if you want to transplant seedlings that have already grown into the first few blocks. The size of the square tips corresponds to the size of the first blocks. When extruding blocks with square tips, insert the seedling grown in the smaller block into the square holes formed by them. The size fits exactly, just take it and put it on. No fluff.
The third stage is the transplanting of tomatoes
Some seedlings need to be transplanted into even larger containers. This is where presses for larger blocks can come in handy. Roman says that he personally rarely uses them, only for transplanting tomato seedlings.
At this stage, you may need to work more with your hands: you will have to press the soil yourself, because due to its large volume, it is difficult to compress it tightly enough with the press alone. A little more precision will be needed when moving the block into the container so that it doesn’t collapse under its own weight.
Well, the next step is already familiar: move the smaller block of earth with the seedling onto the larger one, as if putting together a puzzle.
Read more Thuja hedge – 5 rules for a healthy and beautiful hedge –
A little maintenance
It is important to water the compacted earth in the blocks abundantly, because the water in them dries out faster. The smaller the block, the more often we water it: smaller ones may need to be watered thoroughly every day, while larger ones may only need to be watered once a week, depending on how dry the soil is.
Roman says that watering from below is the most convenient thing for him: he pours water into a plastic container where blocks of soil with seedlings are located, and the soil absorbs all the moisture it needs. Excess water can be discarded.
That’s it: easy, right? I was very interested to hear about the experience of someone who has already tried this innovation – thanks Roman! I hope you learned something new too.
latest posts published

how to recognize the problem and how to save your lawn
Growing Peas for Beginners: Here’s What You Need to Know
3 ways to clean the gaps between pebbles – without chemicals!
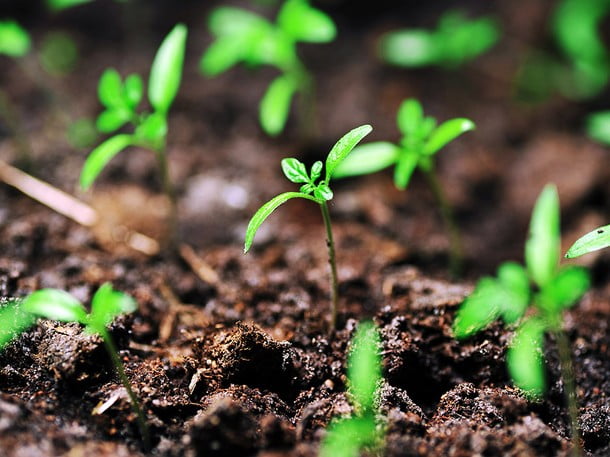
Collecting sprouts: the most common mistakes
my review on the greenhouse harvest –
Which plants and how to cover the garden at the end of winter?

Take care of the graves in autumn, so that they are beautiful even in spring

what you will find in Lithuania if you decide to try it
English style: how to create one in Lithuania