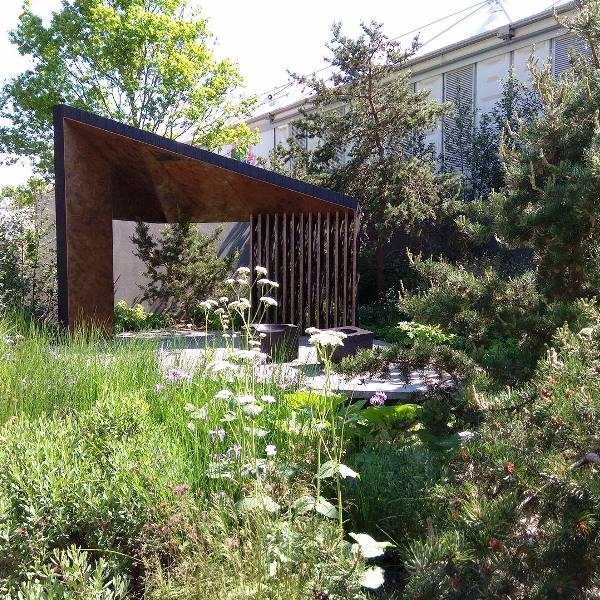
The lawn robot is our new buddy! To keep the lawn looking nice and neat, this task needs to be done often and well. Have you ever thought about how many hours you spend mowing the lawn during the season? Yes, that number would be quite remarkable, and those hours in the yard could be much more enjoyable than moving a lawnmower manually. And here is the answer: this lawn robot – let’s get to know it!
Here is my first meeting with a robot. In this video report, you will see what makes up the Gardena robot lawnmower, how to put everything together and connect it, we will give a video guide, and at the end of the video, you will also see the robot lawnmower’s first runs on the lawn. So take a look:
WHICH LAWN ROBOT HAS BEEN TESTED:

Gardena R80Li lawn robot – suitable for lawns with an area of up to 8 acres. The number in the name indicates how many acres the lawn is, for example R40Li would be a lawn of approximately 4 acres.
Read more The most common mistakes, why it is not possible to grow sprouts
CONNECTION STEPS OF THE PRATO ROBOT:
1. Robot lawnmower station. It is necessary to prepare a suitable place for its construction, which meets the following conditions:
- 2 m of free space must be left in front of the station, 1 m on both sides, at least 30 cm from the back (if the curb or wall is higher than the robot). It will be easy to measure distances, because in the box you will find a special ruler;
- away from direct sunlight;
- there is an electrical outlet nearby.
2. Contour cable. It is designed to contour so that the robotic lawnmower understands where it needs to go and does not leave the boundaries of the lawn or visit the neighbors. To secure the shaper cable, you will find the included staples in the package. All you have to do is take a hammer.
Distances:
- To fix this cable you need 30cm from a curb or a higher wall.
- If the height of the lawn is the same as that of the other surfaces, a distance of 5 cm from them is sufficient.
- If there are trees, fences or other larger objects in the lawn, it is a stable object, you do not need to do anything, the robotic lawnmower will just bump and turn.
- If we are talking about smaller objects, as in our case – young trees, it is necessary to mark the path around them with a contour cord. When two wires of the shaped cable come together and run next to each other, the robotic lawnmower does not consider them a disturbing element, it simply does not see them and passes over them.
- If there is a space of less than 60cm between the lawn plants, know that the robotic lawnmower will not pass between them. When running the boundary wire, leave a small loop free where you will attach the guide wire.
3. Guide cable. Intended for the lawn robot to figure out how to get back to the station. Initially, the guide wire is passed through the bottom of the robotic lawnmower station, as indicated on the bottom. Subsequently the cable is passed for at least 2 m completely straight, after which the installation path is completely irrelevant. The guide wire is attached to the lawn with the same staples as the contour. The end of the guide wire should be where the loop of the boundary wire is left. Connect both cables there. And I did this job myself!
Read more The effects of frost on plants: why they actually freeze
4. Both cables must be connected to the station (connection details are included in the package, see video report).
5. Garden robot programming. First of all choose the language, among other things there is also Lithuanian. Then set the date and enter the invented PIN. The PIN code is very important because it will be used to change the position of the robot station or to move it somewhere. In addition, the PIN code will protect your robot from thieves, because if the code is not entered, the security alarm will be activated.
6. Well, here it is, the lawn robot is ready for work! You let him go out onto the lawn and you yourself go to enjoy summer pleasures (or sit in the heat at home and don’t stick your nose out in the rain).
And finally, briefly mine first impressions after three days friendship with a garden robot. At first I thought that in a few days I could film how I enjoyed the pleasures of summer, while the lawn robot was working, but… After the robot started up, the weather became really bad: it got cold, the temperature dropped, and that’s exactly why the lawn robot worked better, because there was no need to go out and mow the grass in that weather.
Read more What is a soundscape and how to apply it to your garden
Every day the excitement increases and the robot little by little becomes a member of the family, so help him find a name!
latest posts published

how to recognize the problem and how to save your lawn
Growing Peas for Beginners: Here’s What You Need to Know
3 ways to clean the gaps between pebbles – without chemicals!

Collecting sprouts: the most common mistakes

my review on the greenhouse harvest –

Which plants and how to cover the garden at the end of winter?

Take care of the graves in autumn, so that they are beautiful even in spring
what you will find in Lithuania if you decide to try it

English style: how to create one in Lithuania